Most people use BlueStacks and also most people want to root BlueStacks. There are many ways to root BlueStacks but some are hard and we found an easy way to root BlueStacks 2 which is released recently.
Bluestacks is the most popular Android Emulator since 3 to 4 years and still, people love to use this software as it will be used as an Android device in your PC and Mac without any additional set-up.
BlueStacks is very easy to use software for Windows and Mac and it will run any Android app without any issue.
There are many alternatives to BlueStacks such as Andy, Remix OS but Bluestacks is still the most popular Android Emulator of all time due to its easy set-up and usage without having any risk.
BlueStacks recently released BlueStacks which has many features and faster than the previous version.
Most people nowadays want to root their Android device to install some apps which will completely customize your Android device such as we can get a Google Pixel like navigation bar etc.
Do you know, you can also root BlueStacks and most people want to root to get the Android customization in their hands.
Here we will explain a simple procedure to root BlueStacks very easily. Remember that it’s too easy 😀
How to Root BlueStacks?
- First, you need to download BlueStacks and install it.
- Next, after a successful installation. Download Kingroot apk on your computer. Kingroot is an Android app, so you can install Kingroot in BlueStacks.
- Just double-click on the downloaded Kingroot app (or) drag and drop in BlueStacks to install it.
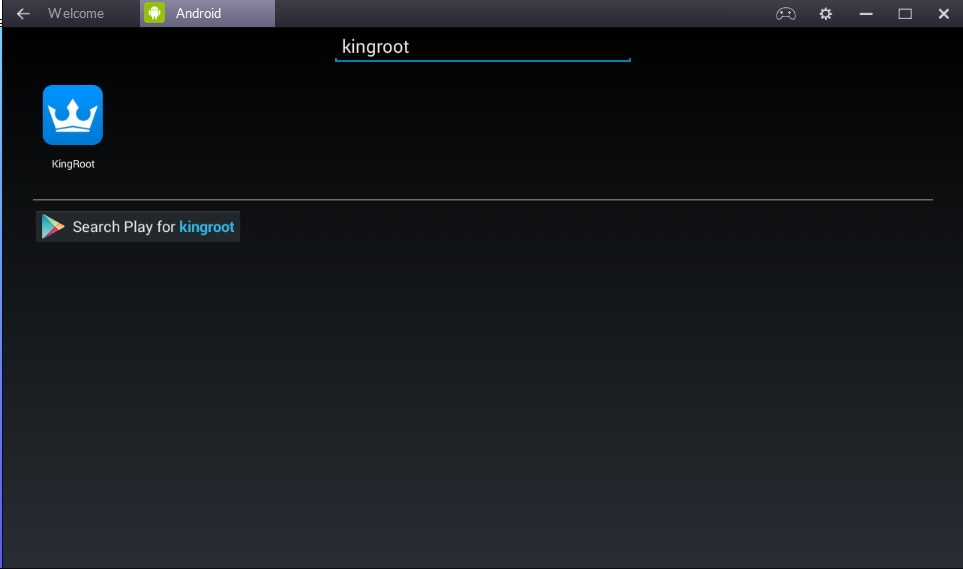
- After installation, open Kingroot in Bluestacks which you will find by searching or in the app menu.
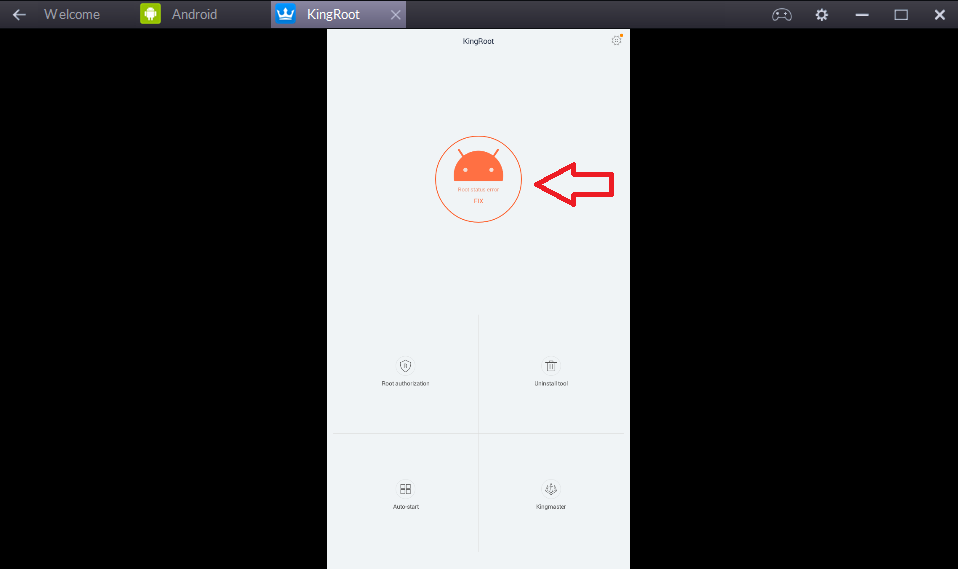
- In Kingroot app, you will see an Android icon just click on it as shown below.
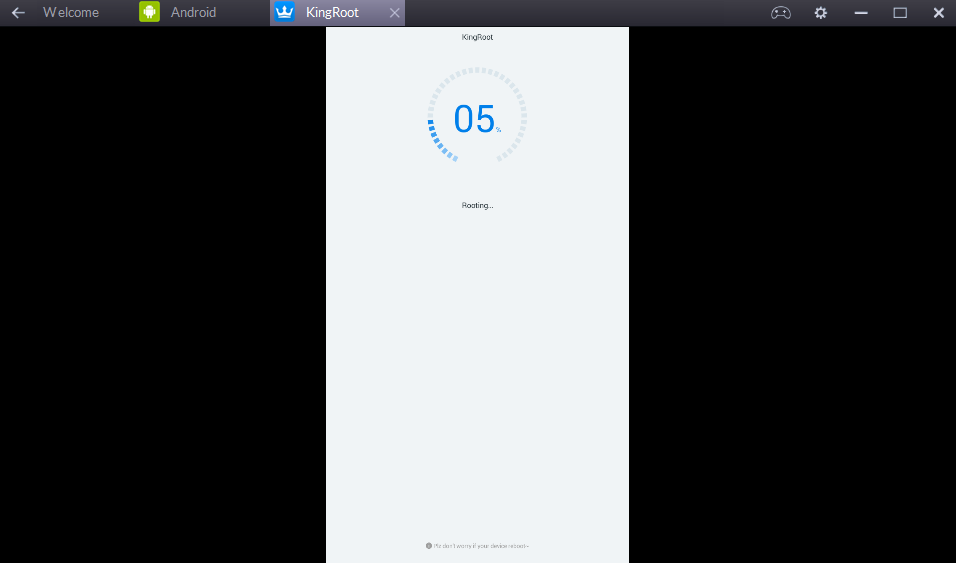
- Now, the rooting of BlueStacks will be started and it will take up to a few minutes. Be patient until your BlueStacks is rooted.
- After the rooting of BlueStacks completes, you need to download BlueStacks Tweaker and open it.
- Next, it will show a screen as shown below. Just click on Restart and your BlueStacks will be restarted.
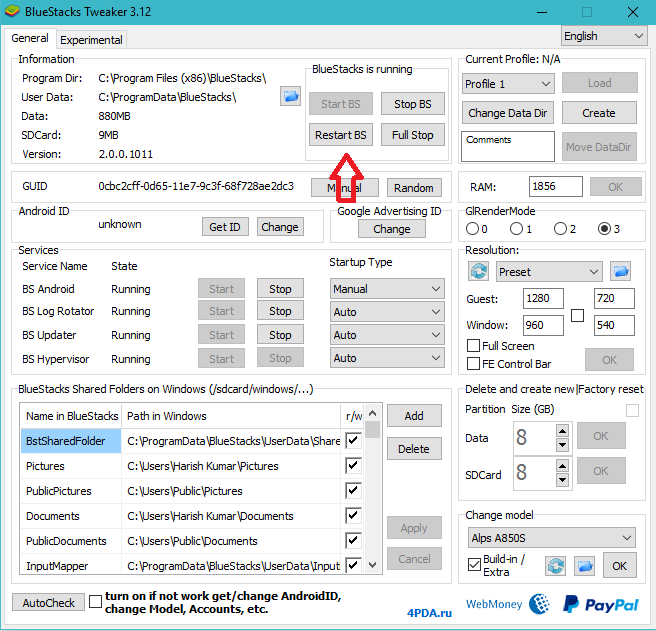
- You have done everything, you need to now just verify whether your BlueStacks is rooted or not. Just download Root Checker and open it.
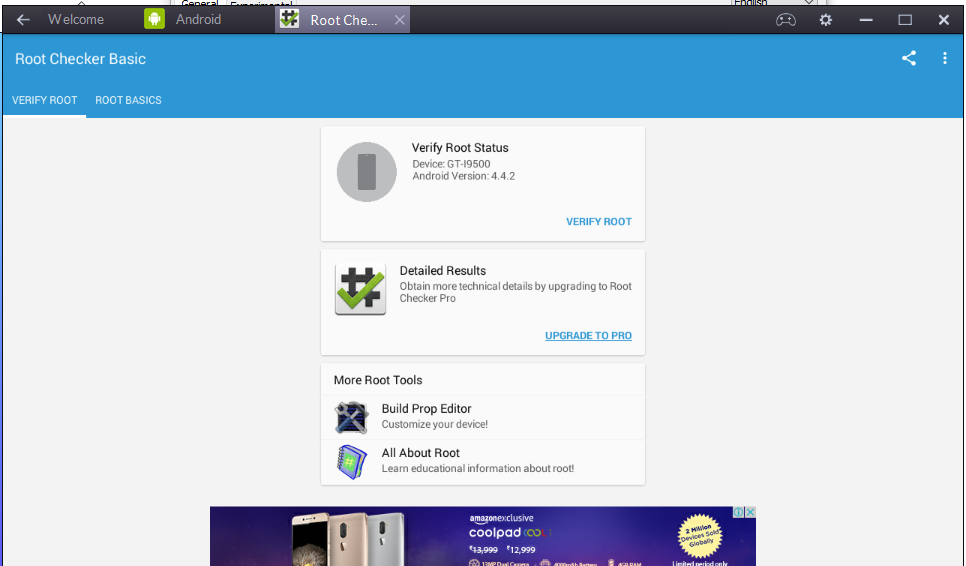
- Now after opening it, click on Verify Root and then it will say that “Congratulations! Root access is properly installed on this device” as shown below.
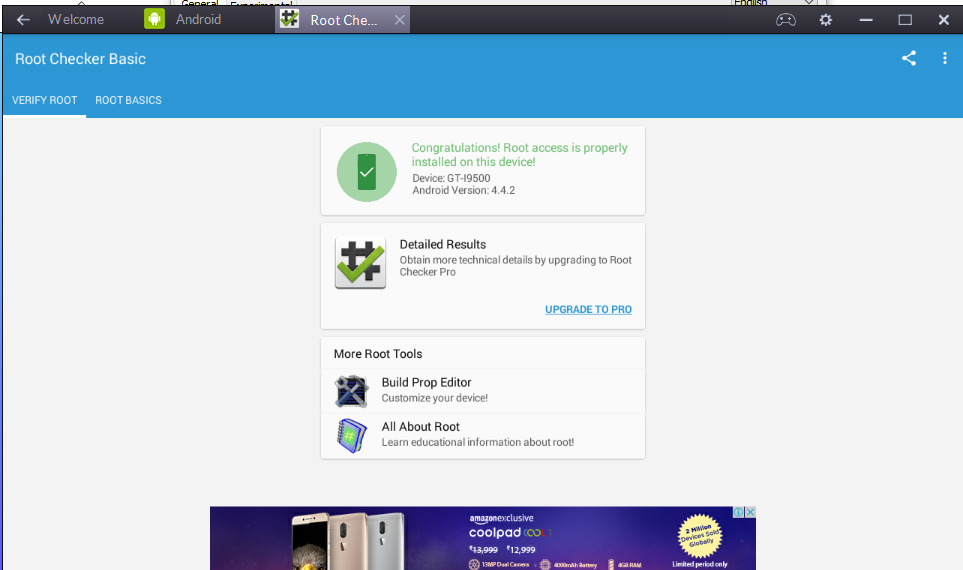
Congrats, you have successfully rooted BlueStacks 2. Now, you can play any games or use any apps which require root.
If you face any issues in the process, do let us know in comments.


Really, It was one of the easiest methods to Root Bluestacks. Thanks for Sharing this Article!
Thank you for sharing this posts on the bluestacks and its most easy method to root it
Hi Vinya,
Yes, we listed the easiest way to root Bluestacks. keep visiting. 🙂